Step-by-Step – Create a Secure Azure VNet
🧱 What is a VNet?
A Virtual Network (VNet) is Azure’s foundational building block for securely connecting your VMs, services, and workloads. Think of it as your private data center in the cloud—with full control over IP ranges, routing, and segmentation.
🪜 Step-by-Step: How to Create a VNet in Azure
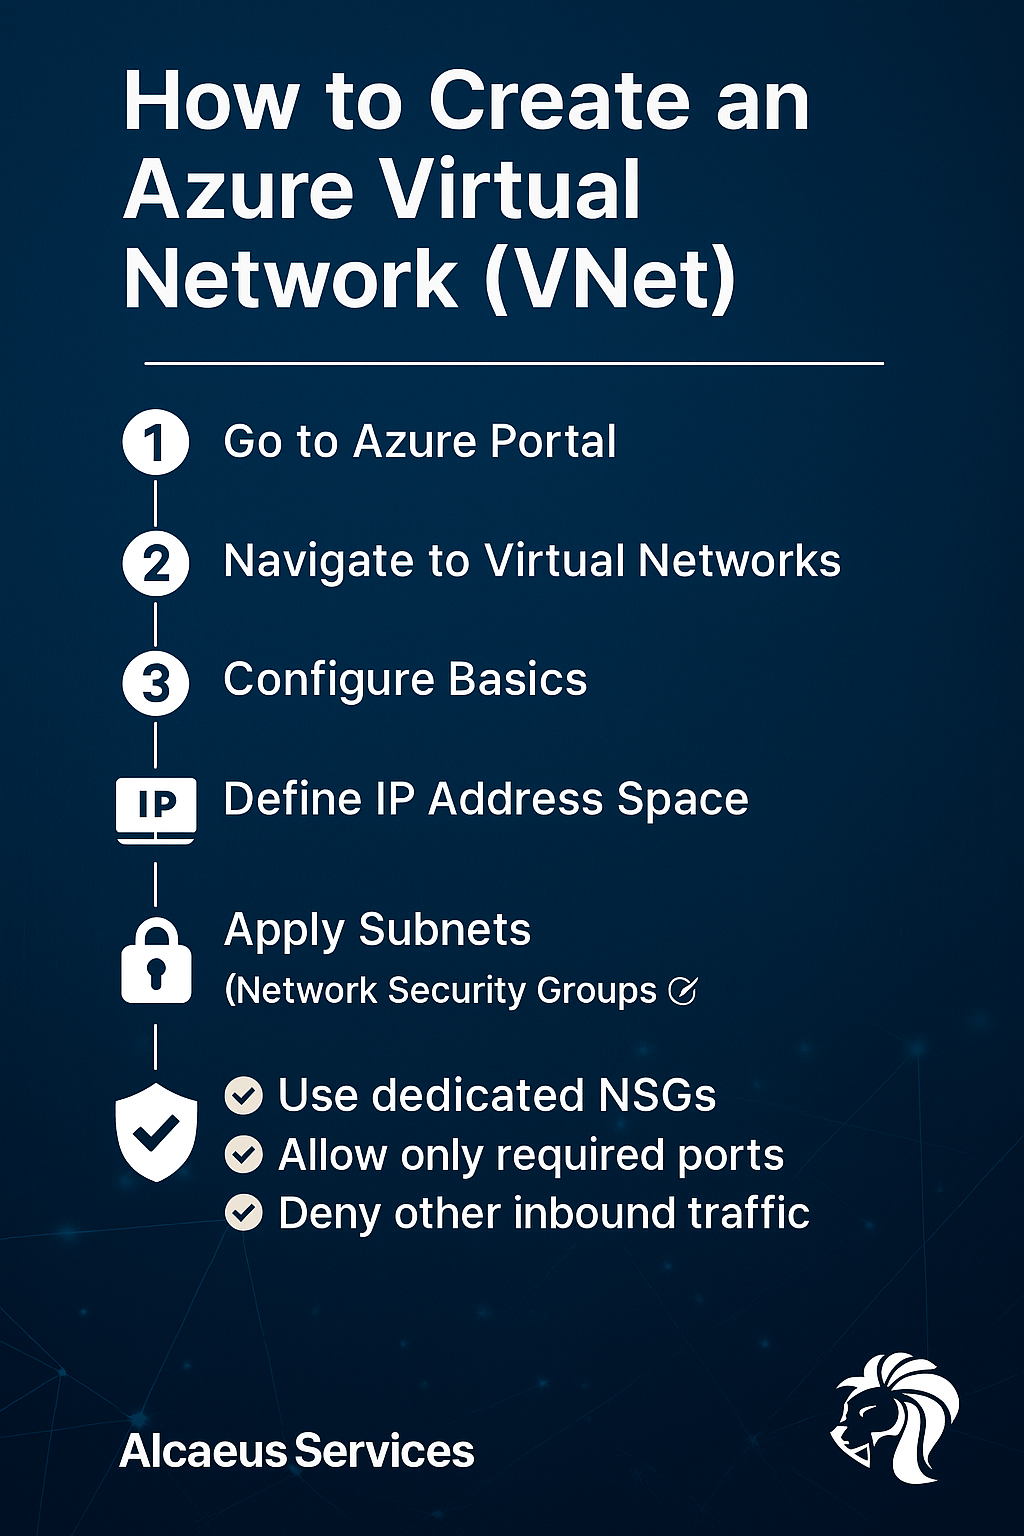
1️⃣ Go to Azure Portal
Visit portal.azure.com and sign in.
2️⃣ Navigate to Virtual Networks
Search for “Virtual Networks” in the top search bar and click + Create.
3️⃣ Configure Basics
- Subscription / Resource Group: Choose accordingly
- Name: e.g.,
Prod-VNet-EastEU - Region: Select the region close to your workloads
4️⃣ Define IP Address Space
- Use CIDR notation (e.g.,
10.0.0.0/16) - Avoid overlapping address spaces if planning to peer VNets later
5️⃣ Add Subnets
Split your VNet into logical subnets:
10.0.0.0/24for Web Servers10.0.1.0/24for Application Tier10.0.2.0/24for Database
🔐 Step 6: Apply NSGs (Network Security Groups)
Security starts with segmentation. For each subnet:
✅ Create or assign a dedicated NSG
✅ Only allow required ports (e.g., 443, 1433, 22)
✅ Deny all other inbound traffic by default
✅ Restrict RDP/SSH to specific IPs or regions
💡 Subnet-level NSGs are preferred for layered protection. You can apply NSGs to both subnets and individual NICs.
🧭 Finalize
7️⃣ Enable DDoS Standard protection (if licensed)
8️⃣ (Optional) Add tags for cost and security tracking
9️⃣ Click Review + Create, then Create
✅ Alcaeus Tip
Design your IP ranges with future peering in mind. Don’t reuse overlapping CIDRs unless you love troubleshooting.
Need help designing secure cloud networks?
📩 Reach out to Alcaeus Services—we’ll map and secure your Azure architecture the right way.
Comments are closed