🔄 What Is VNet Peering?
VNet Peering enables private, high-speed communication between two virtual networks (VNets) in Azure—across the same region or even globally.
It’s like running a fiber cable between two private clouds—with no need for VPNs, NAT, or internet exposure.
🪜 Step-by-Step: Create VNet Peering in Azure
1️⃣ Prerequisites
Make sure both VNets:
- Exist in the same or peered Azure subscriptions
- Use non-overlapping IP address ranges (e.g., 10.0.0.0/16 & 10.1.0.0/16)
2️⃣ Go to One of the VNets
- Open the Azure Portal
- Navigate to Virtual Networks > your VNet > Peerings
- Click + Add
3️⃣ Configure Peering Details
Name your peering (e.g., Prod-to-Dev)
Set:
- Peer subscription (same or other)
- Peering VNet and its region
✅ Enable:
- Allow traffic from both VNets
- Use remote gateways only if applicable (e.g., one VNet has a VPN Gateway)
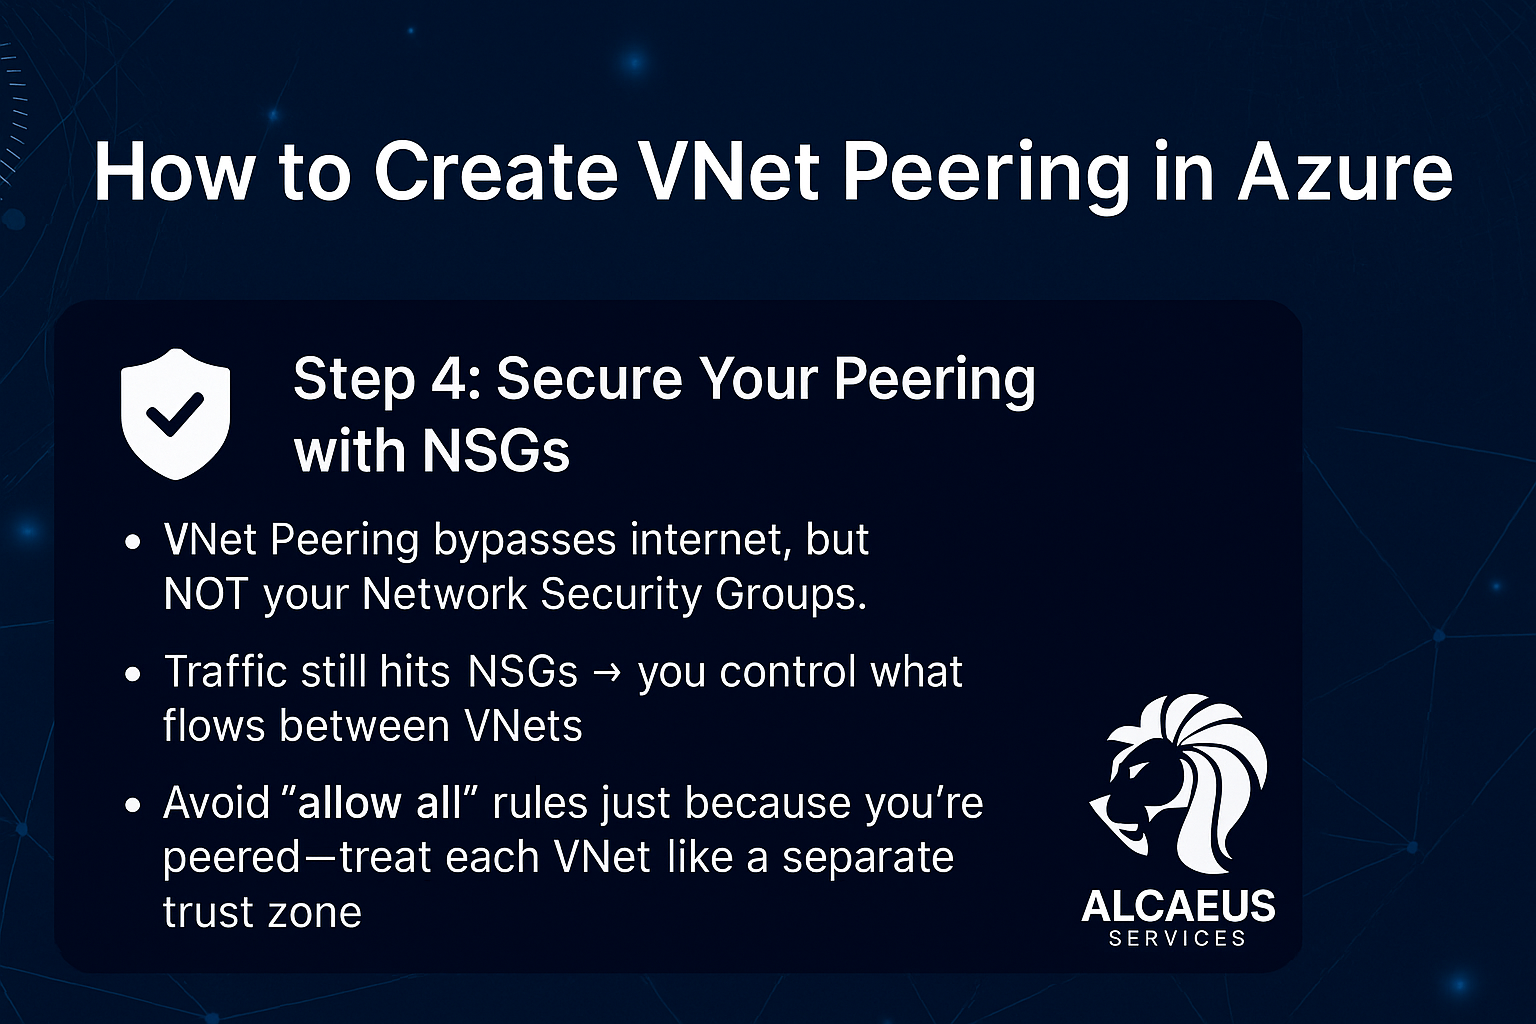
🔐 Step 4: Secure Your Peering with NSGs
🛡️ VNet Peering bypasses internet, but NOT your Network Security Groups.
That means:
- Traffic still hits NSGs → you control what flows between VNets
- Place NSGs on subnets or NICs to enforce rules
- Avoid “allow all” rules just because you’re peered—treat each VNet like a separate trust zone
🧠 Additional Tips
- 🔍 Use NSG Flow Logs and Traffic Analytics to inspect peering traffic
- 📈 Monitor performance in Network Watcher
- 🚫 Avoid transitive peering (A → B → C) unless configured explicitly
🚀 Why It Matters
Many cloud breaches happen when “internal” networks are overly trusted.
By combining VNet Peering with strict NSG rules, you get speed without sacrificing security.
📩 Need help designing a secure multi-VNet architecture?
Alcaeus Services helps companies build cloud environments that scale—securely.


Comments are closed